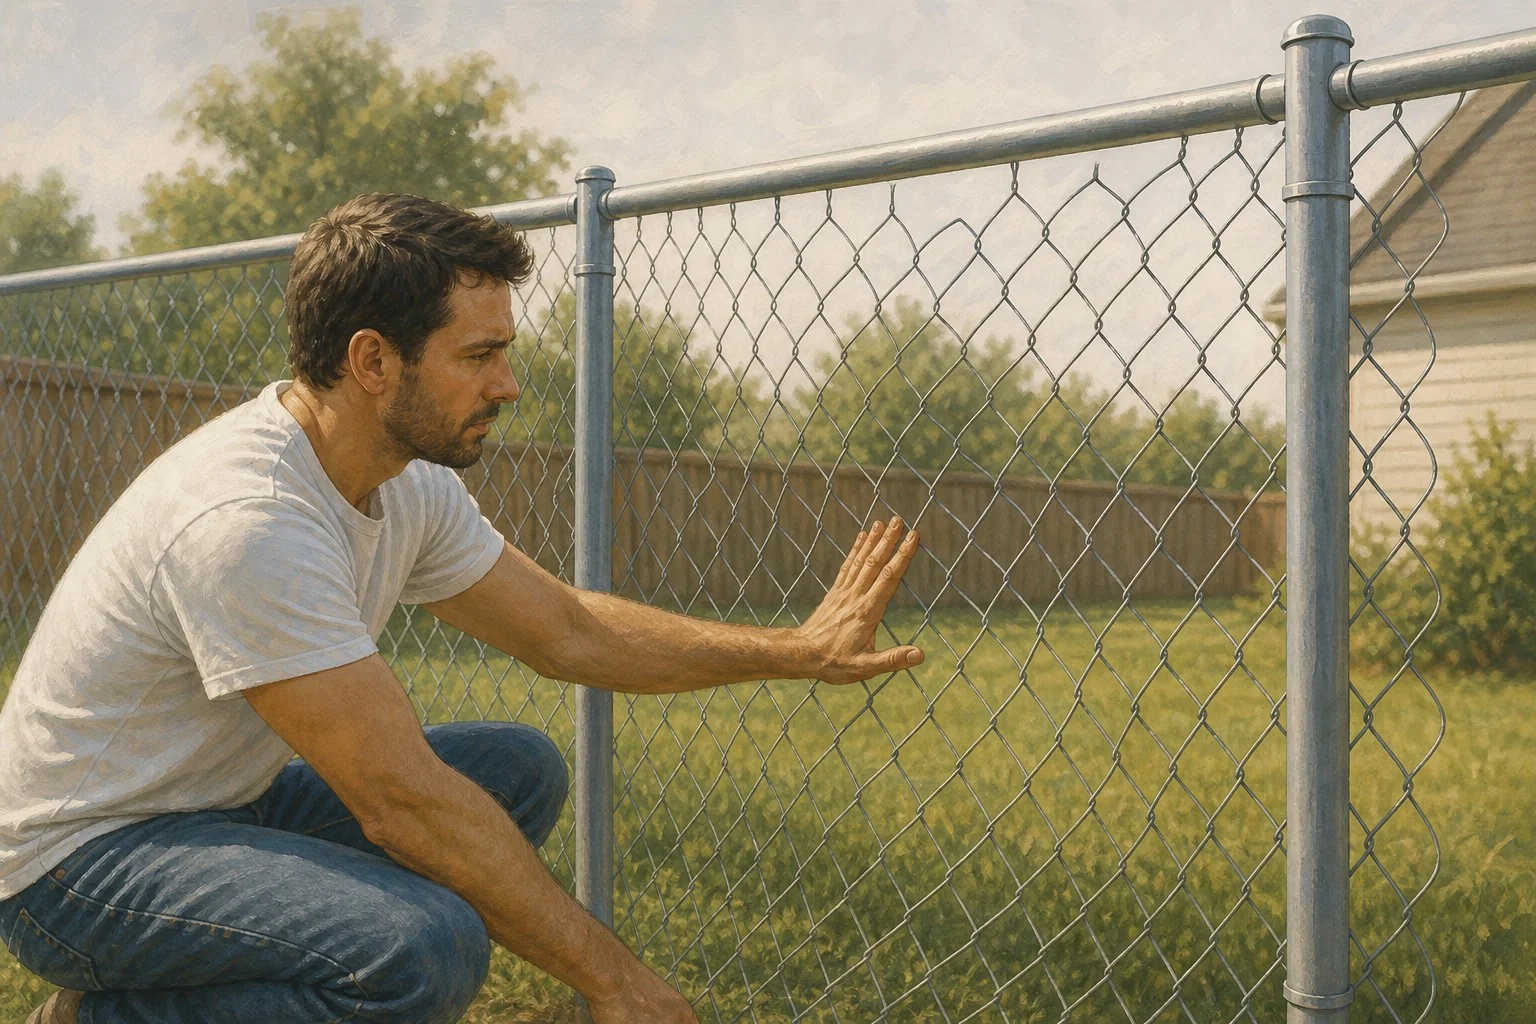
You paid for a new fence. It went in last week. Already looks like it’s been there since 1987. The fabric is waving in the breeze, there are high spots and low spots, and the whole thing has a slumped, tired look that no amount of paint is going to fix.
That’s not a material problem. That’s an installation problem.
Chain link is one of those things people think is simple because the hardware is cheap and the process looks obvious. Stretch some wire fabric between posts. Done. Except if you skip the steps that actually hold it taut and even, you end up with the fence equivalent of a wrinkled shirt — and it only gets worse as it settles.
Here’s what goes wrong, and how to not let it happen to you.
Stretch the Fabric Evenly — All the Way Through
The fabric has to be pulled taut before it’s tied off. That seems obvious. What’s less obvious is that “taut” means stretched evenly along the entire run — not just yanked hard at the terminal posts and called good.
If you stretch from one end and anchor before checking the full length, you get tension that gradually goes slack somewhere in the middle. The fence looks fine at the posts and loose everywhere else. That wavy look in the middle of a run? That’s exactly what this looks like.
You pull the fabric tight using a come-along or a fence stretcher bar and puller. You need consistent mechanical tension, not two guys pulling on the wire with their hands. This isn’t about brute force — it’s about controlled, even tension across the whole run before anything gets permanently fastened.
Walk the run after stretching. Look at it. If any section looks looser than the rest, something’s off. Fix it before you tie anything off.
Use Tension Bars and Bands Correctly
Tension bars are the vertical flat bars that get woven into the end of the fabric and bolted to the terminal post with tension bands. They’re what keeps the fabric anchored at the ends and corners of each run.
If the tension bar isn’t properly threaded through every link along its length, or if the tension bands are spaced too far apart, the fabric can pull free at the edges under load — wind, a dog running into it, a kid climbing it. Even if it doesn’t come fully loose, it’ll shift enough to look crooked and stay that way.
The bands should be spaced no more than a foot apart along the tension bar. Some guys go wider to save hardware. Don’t. You’re not saving anything if the fence looks like hell in a year.
Same goes for where the tension bar sits in the fabric. It needs to go through every single link along that vertical edge — not every other one, not most of them. Every one. If it’s not fully threaded, the load doesn’t distribute evenly and the fabric will pucker right at that corner.
Consistent Tie Spacing Makes or Breaks the Look
Once the fabric is stretched and anchored, you tie it to the line posts with fence ties — those small aluminum wire clips. How you space those ties determines whether the finished fence looks sharp or sloppy.
Standard spacing is every 12 inches on the top rail and every 24 inches on the line posts. Deviate from that and the fabric starts doing what it wants instead of what you want. Too few ties and you get sag between the posts. Uneven spacing and you get a fence that looks like it was installed by someone who wasn’t paying attention.
It doesn’t take long to do this right. It does take discipline to keep the spacing consistent instead of eyeballing it and moving on. The ties are cheap. Spacing them properly takes maybe a few extra minutes per post. It’s the kind of thing that looks invisible when done right and looks terrible when done wrong.
I had a homeowner call me out to look at a fence that a budget crew had put in the previous spring. They’d used maybe a third of the ties they should have — probably trying to cut material cost — and the fabric was bowing out between every single post. The whole fence looked like it was exhaling. He’d already paid for it. We had to go back and add ties along every line post just to get it looking like what he thought he was buying.
Don’t Rush the Finish
Chain link installation has a rhythm to it. Stretch, check, anchor, tie. If you skip the check or rush the tie, you’re locking problems in place. The fabric doesn’t forgive slop — it shows every shortcut.
If you’re hiring this out, watch the crew. Not to micromanage them, but to see if they’re stretching properly and tying consistently. If they’re flying through the tie-off without spacing the clips, ask about it. A good crew won’t mind the question. The other kind will get annoyed — which tells you something useful.
If you’re doing it yourself, take your time on the stretch and don’t underestimate how many ties you need. Buy more than you think. Space them as marked. Walk the finished fence before you call it done.
A properly installed chain link fence is not a beautiful thing, but it can look clean and competent for decades. A sloppy one looks bad immediately and never improves. The difference is almost entirely in how carefully you handle the fabric.
That’s it. Do it right the first time.