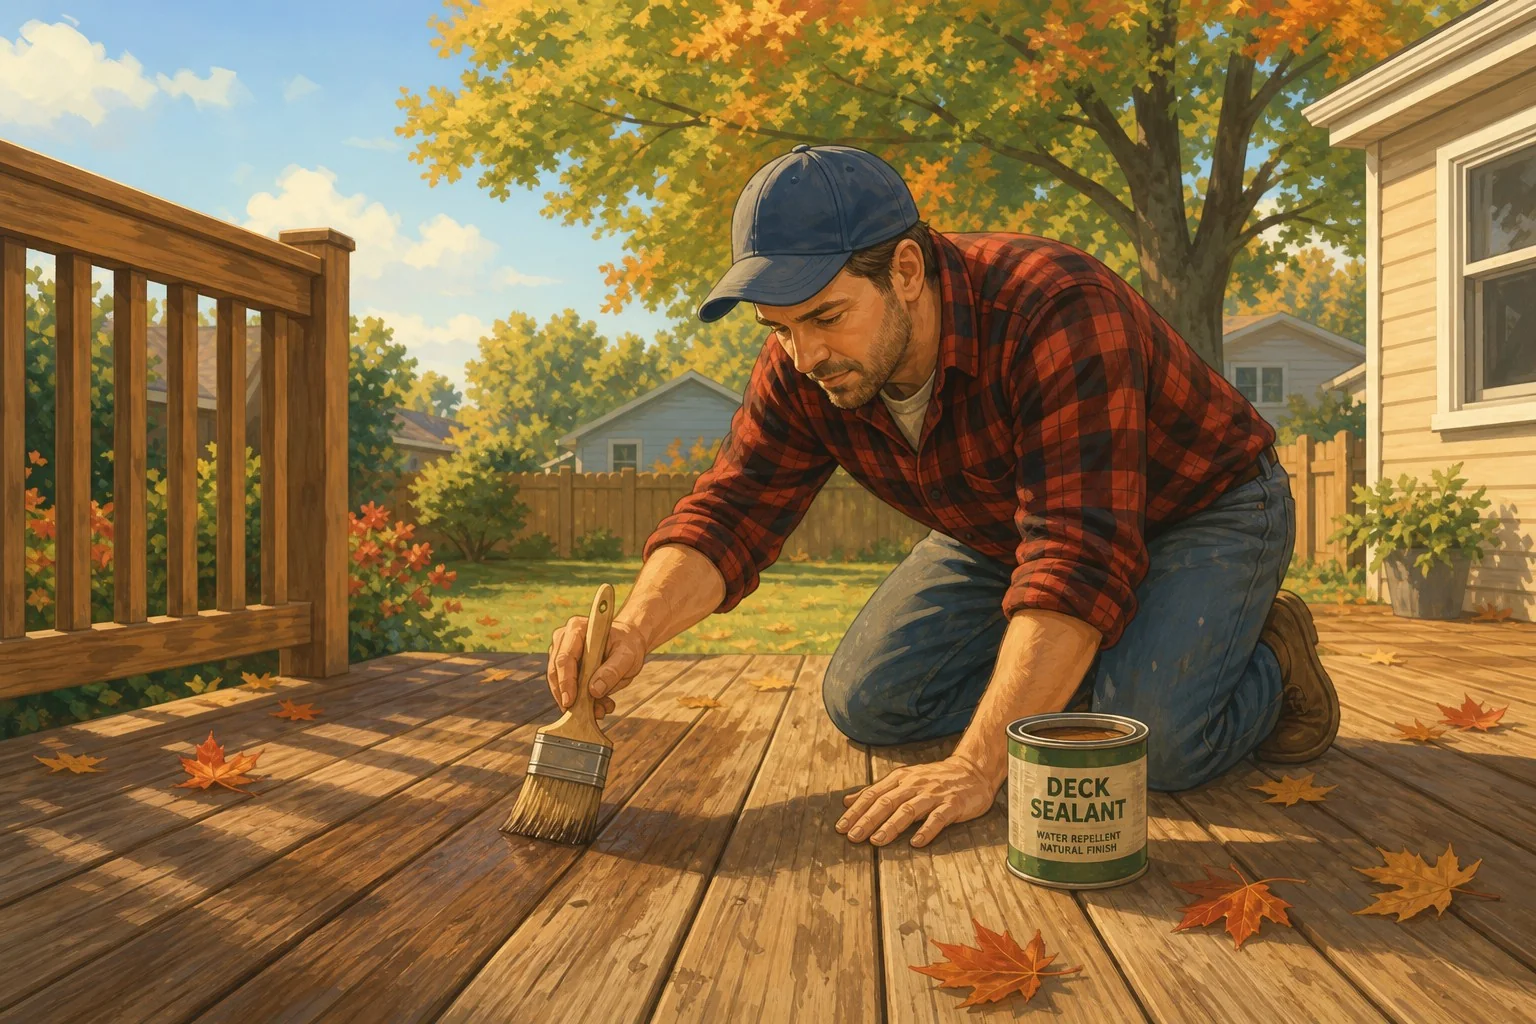
August in Pennsylvania is the sweet spot. The wood on your deck has been baking and swelling and drying out and swelling again since May. The humidity is still cranking. And in about six weeks, every maple and oak on your block is going to dump a season’s worth of wet leaves onto those boards and sit there rotting until Thanksgiving.
That’s the window. Right now. Not October. Now.
If you wait until the leaves are down to look at your deck, you’re not doing maintenance anymore. You’re doing damage control. Here’s what to actually check, in the order I’d walk it myself.
1. Pop a Squat and Look at the Fasteners
Get down on your hands and knees. I know, you don’t want to. Do it anyway.
Walk every board and look at every screw or nail head. In this part of the country, we get four real seasons of expansion and contraction, and fasteners back out. What you’re looking for:
- Nails that have popped up even a quarter inch. Those aren’t holding anything anymore. Pull them and replace with a #10 deck screw, minimum 3 inches long, coated for exterior use.
- Screws with rust bleed — that rusty streak running down the board. That means the coating failed and the screw is eating itself. Replace it. Stainless if you’re near the ledger board or anywhere that stays wet.
- Empty holes. Somebody’s been through here before you and pulled a fastener without replacing it. Fill it or replace the board depending on how bad it looks.
If you’ve got more than a handful of popped nails, your deck was probably built with the wrong fasteners in the first place. Nails don’t belong in a deck surface. Never did. Screws hold. Nails let go.
2. Clean Between the Boards — For Real
The gap between your deck boards isn’t decorative. It’s there so water drains and air moves. When it packs with pine needles, seed pods, dirt, and whatever the wind blew in since April, that gap turns into a sponge. Wet sponge sitting on top of wood equals rot. Every time.
Get a putty knife or a purpose-made deck cleaning tool — they sell them for ten bucks at any hardware store — and run it through every seam. All of them. You’re going to be shocked at what comes out. Compost, basically. That’s what’s been sitting on your joists.
After you’ve cleared the gaps, hit the whole surface with a stiff-bristle brush and a deck cleaner. Not bleach. Bleach kills the mildew on top but doesn’t do a thing for what’s under the surface, and it chews up softwood fibers. Use an oxygenated cleaner — sodium percarbonate. Let it dwell, scrub it, rinse it. That’s the job.
Skip the pressure washer unless you know what you’re doing. I’ve torn out more decks fuzzed to hell by a homeowner who cranked a 3,000-PSI wand two inches off pressure-treated pine. If you must use one, keep it under 1,500 PSI and 12 inches away, moving constantly.
3. Hunt for Rot Where It Actually Hides
Rot doesn’t announce itself on the middle of your deck. It hides.
Take a screwdriver — a regular flathead, nothing fancy — and go poke around in these spots:
- Where the deck meets the house (the ledger board). This is the single most important area on your entire deck. If the ledger fails, the whole thing comes down. Poke the wood above and below the flashing. It should feel hard. If the screwdriver sinks in like it’s warm butter, you’ve got a problem and you need to call somebody.
- Around every post base. Where the post meets the concrete or the ground. Water pools there. Poke it.
- Under the stairs, especially the bottom step. Nobody looks there. That’s exactly why rot loves it.
- The end grain of every board where it butts up to another board or the fascia. End grain drinks water like a college freshman.
Soft, spongy, or crumbly means rot. Discoloration alone doesn’t. Trust the screwdriver.
I had a job in Bala Cynwyd back in 2019 — nice couple, hosted their daughter’s grad party on a deck that looked fine from the top. Two hours in, a guy went through the boards up to his knee. Turned out the joists had been rotting for three years because the ledger flashing was installed upside down by whoever built it, and every rain event ran water straight into the framing. The surface hid it perfectly. If they’d poked around with a screwdriver once a year, they would’ve caught it.
4. Look at the Finish Honestly
Splash some water on the boards. If it beads up, your sealer is still working. If it soaks in, the wood is drinking, and you need to reseal before winter.
August into early September is the right time to do it in PA. You need three or four dry days in a row, temps between 50 and 90, and no morning dew on the boards when you start. Late summer usually gives you that window. October rarely does.
Don’t put stain over a soaking wet or dirty deck. It won’t bond. You’ll be stripping it off again next spring and doing the whole thing over.
5. Trim What’s Touching the Deck
Any bush, vine, or tree branch touching or overhanging your deck is a problem. It holds moisture against the wood, drops debris into the gaps, and gives carpenter ants and mice a highway right onto your framing.
Cut it back. Two feet of clearance minimum on the sides, more overhead if you can get it. You’re not going to stop the leaves from falling, but you can stop the branches from scraping and depositing wet junk all season.
Do It Now, Not Later
None of this is hard. None of it takes special skills. It takes an afternoon, a screwdriver, a brush, and a willingness to actually look at your deck instead of just standing on it with a beer.
Do it in August. The wood is dry, the weather cooperates, and you’ve still got time to fix what you find before the leaves bury everything. Wait until November and you’re not prepping anymore — you’re paying somebody like me to tear out framing that should’ve lasted another fifteen years.
Your call.