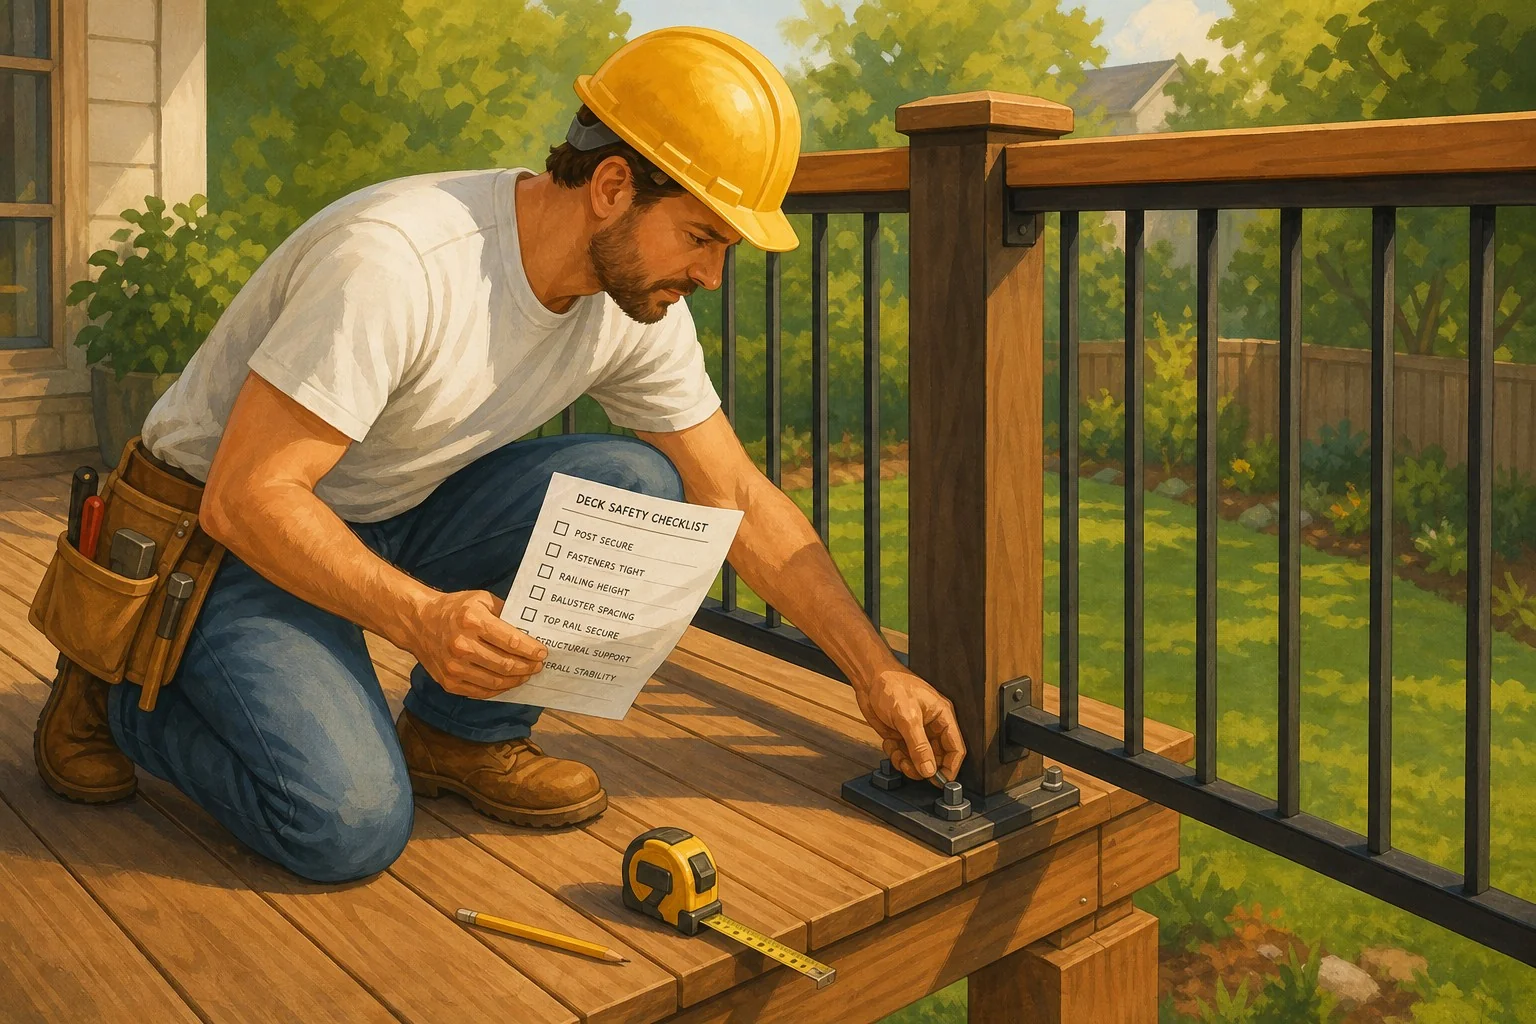
Most railing failures aren’t because the code is some mystery only inspectors understand. They fail because somebody — usually the homeowner, sometimes a contractor who should know better — cut corners on three things that show up on inspection reports over and over again.
Spacing. Post attachment. System rating.
That’s the holy trinity of failed railings. Get those three right and you’ll pass inspection. More importantly, your kid won’t fall off the deck.
Here’s the checklist. Read it before you buy a single piece of lumber.
1. Get the Spacing Right (The 4-Inch Rule)
The rule is simple. Nothing between balusters should let a 4-inch sphere pass through. That’s the code in just about every jurisdiction in the country. The reason is a kid’s head. That’s the whole reason. Once you know that, you stop arguing about it.
People screw this up by eyeballing. They figure 4 inches is 4 inches, mark it with a tape, slap it together, and call it a day. Then the inspector shows up with an actual 4-inch ball and the gaps near the top measure 4-1/8 because the railing bowed a hair when the screws got cranked down.
Spacing numbers worth committing to memory:
- Balusters: maximum 4 inches between them
- Bottom rail to deck surface: maximum 4 inches
- Stair railing triangle (the open space under the bottom rail at the stringer): maximum 6 inches
- Decorative horizontal rails: still have to meet the 4-inch rule in most places — the “ladder effect” argument won’t save you with a strict inspector
When in doubt, build it tighter. Nobody ever failed an inspection for being too small.
2. Anchor the Posts Like You Mean It
This is where I see the most actual danger. Not just failures of code — failures that get people hurt.
A post screwed into the side of a deck rim with four deck screws is not a railing post. That’s a decoration waiting to fall over.
I had a job in Manayunk a few years back — second-floor deck off the back of a row house. Owner had hired some guy off Craigslist to “save money.” I came in two years later to redo her kitchen, and she asked if I’d take a look at the deck because it “felt wobbly.” Wobbly was generous. The posts were toe-nailed through the decking into the rim joist with finish nails. Finish nails. I told her not to let her grandkids out there until I came back the next morning with proper hardware. She thought she’d saved a thousand bucks. She’d bought a lawsuit waiting to happen.
Do it right:
- Use through-bolts, not screws or nails. Carriage bolts or hex bolts with washers and locking nuts.
- Bolt through the rim joist AND the post. The decking is not structure. Don’t bolt to decking.
- Block behind a single-ply rim. A doubled-up rim with proper blocking gives the bolt something serious to bite.
- Use rated hardware brackets. Simpson Strong-Tie makes a post base specifically for deck railings. Use it. They’re cheap and they’re tested.
The code requirement is a 200-pound horizontal load applied to the top of the post. Build to that. If you’ve ever leaned on a railing and felt it move, somebody skipped this step.
3. Buy a Code-Rated System
This is the easiest tip on the list and the one people ignore most.
If you buy a complete railing system — wood, aluminum, composite, cable, glass, whatever — buy one that’s rated to meet IRC code as installed. The manufacturer has done the engineering, the testing, and the math. You follow the instructions, you pass inspection. End of story.
The trouble starts when people mix and match. Aluminum posts from one company, wood top rail from somewhere else, balusters they bought used off Marketplace. Now nothing is rated as a system. The inspector has no documentation that this Frankenstein assembly will hold the load, and frankly, neither do you.
Stick to one system. Follow the instructions that came in the box. Don’t modify anything load-bearing — no notching posts, no shortening rails past the cut limits, no swapping in different fasteners because the included ones “look small.”
A Few More Things Worth Knowing
Height. A deck more than 30 inches off the ground needs a railing at least 36 inches tall residential. Commercial is 42. Some towns require 42 residential too. Check your local code, not just the IRC. Your local amendments are what the inspector enforces.
Graspable handrails on stairs. A 2x4 nailed flat is not graspable. You need an actual handrail profile your hand can wrap around — about 1-1/4 to 2 inches in cross-section, with finger clearance from the wall.
Pull the permit. Yes, really. The fee is nothing compared to the cost of tearing out a non-permitted deck when you sell the house and the buyer’s inspector finds it. I’ve seen people pay ten grand to remove and rebuild work that would have cost them seventy bucks in permit fees.
Don’t skip the ledger flashing. Not technically a railing item, but if your ledger fails, your railing comes with it. Flash it. Lag it. Bolt it. Done.
The checklist is short. Spacing. Posts. Rated system. Height, handrail, permit.
Build it once, build it right. There’s no excuse for skipping any of it.