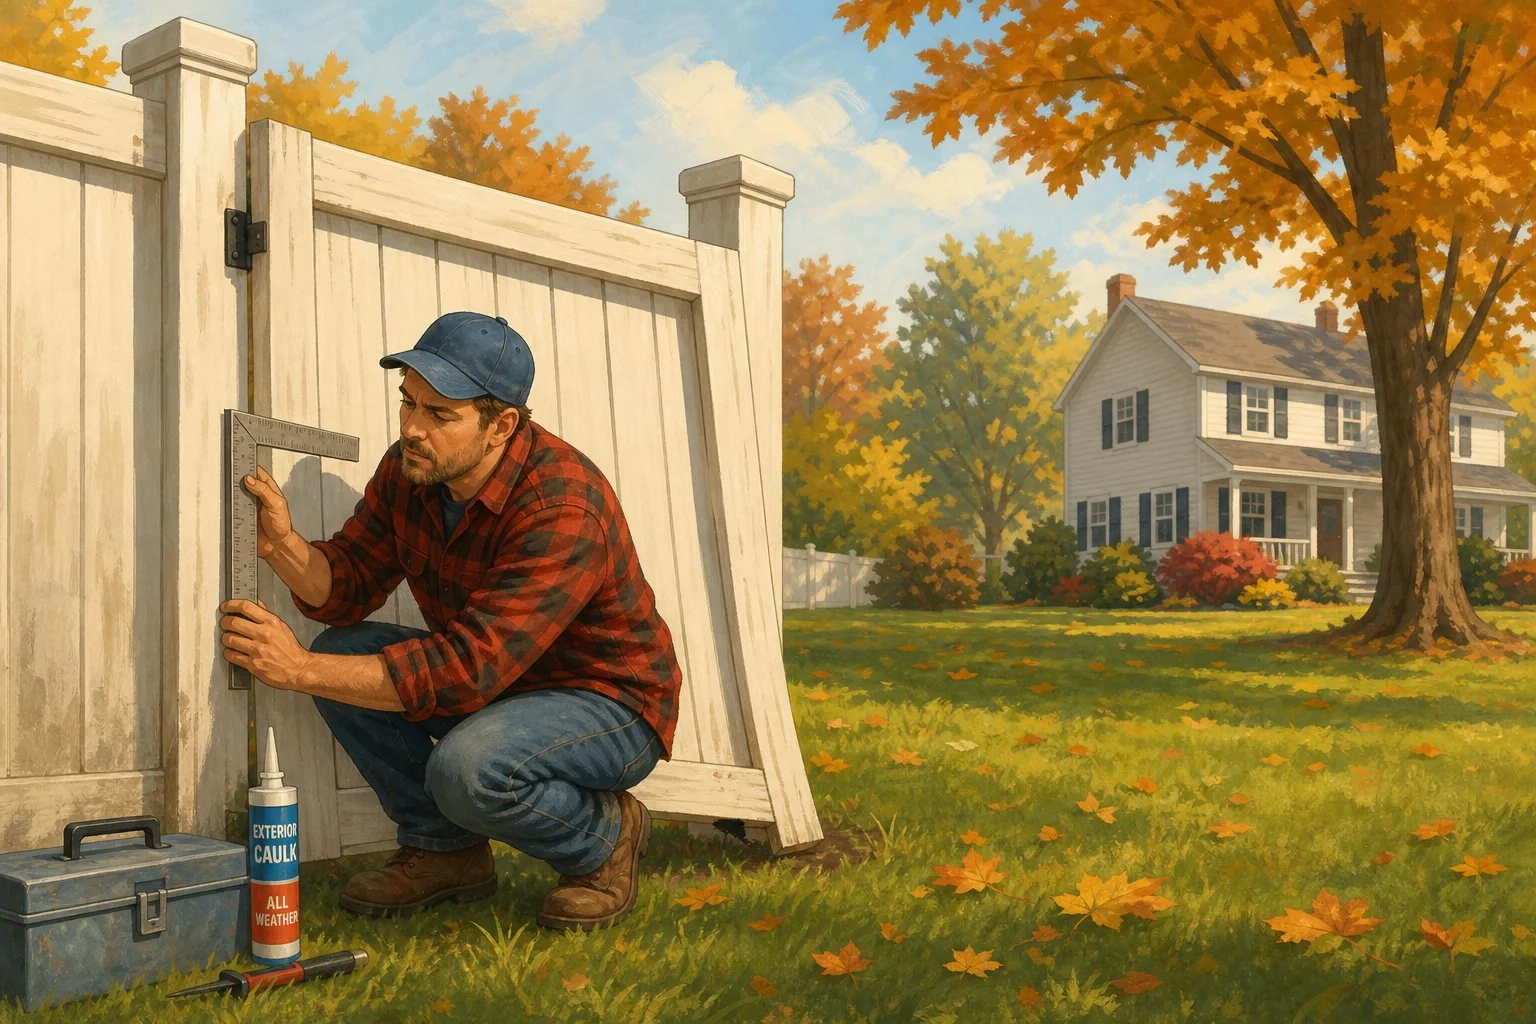
If your gate scrapes the ground when you swing it open, or the latch doesn’t line up with the strike plate anymore, you’re not imagining it. August in PA did that. Heat, humidity, sun beating on the same face of the wood for months — gates move. They sag, they warp, they twist. And they get worse.
Fix it now. Come November when the ground freezes and the wood is soaking up cold rain, you’re not doing this job in a t-shirt. You’re doing it in gloves that are already wet.
Here’s the checklist I’d run through if this were my own yard.
Step 1: Figure out what’s actually sagging
Before you buy a single screw, stand back and look at the gate. Close it slow. Watch how it moves.
Nine times out of ten, one of three things is wrong:
- The hinge-side post is leaning
- The hinges themselves are loose or blown out
- The gate frame has racked out of square
You have to know which one you’re fixing. If you crank down on the hinges when the post is the problem, you’ll be back at it in six months. Diagnose first. Wrench second.
Grab a level. Put it on the hinge-side post, vertical. If it’s leaning toward the latch side even a quarter bubble off, that’s your problem. Everything else is downstream from that.
Step 2: Check the post — this is usually the real culprit
Most sagging gates in Pennsylvania yards have nothing to do with the gate. It’s the post. A wood post sitting in soil, taking freeze-thaw cycles every winter and 90-degree humidity every July, either rots at the ground line or works itself loose in the concrete.
Push the top of the post hard toward the latch side. If it moves — even a little — you have a post problem, not a gate problem.
Dig around the base. Poke it with a screwdriver. If the wood at ground level feels like a sponge or the screwdriver sinks in, that post is done. You can prop it up, brace it, sister it with metal — none of that lasts. I had a job in Roxborough where a homeowner had wrapped his rotted gate post in three layers of PVC and hydraulic cement. Looked like a science fair project. The whole thing came out in one piece with a light kick from my boot. Rot doesn’t get better. It gets bigger.
Pull the post. Dig a new hole — three feet deep, below the frost line. Gravel in the bottom for drainage. Set the new post in concrete and crown the top so water runs off instead of pooling around the wood. If you want to be smart about it, use a pressure-treated post rated for ground contact, not the lighter stuff that’s only rated for above-grade.
If the post is solid but the concrete pad has cracked or shifted, same fix. Pull it and redo it. Half-measures on a fence post are how you end up doing this job twice.
Step 3: Now look at the hinges
If the post checks out, look at the hinges. Not the pretty plate part — the screws.
Cheap gate hinges use short screws that only bite the trim board or the picket. That was never going to hold. A proper gate hinge gets a long lag screw — three inches minimum, four is better — driven into the actual post. Not the fence rail. Not a picket. The post.
If your existing screws are stripped, don’t just swap them for slightly bigger screws in the same holes. That hole is done. Fill it with a wood plug and glue, or move the hinge up or down an inch and put fresh lags into fresh wood. Wood glue and a golf tee crammed into a stripped hole and snapped off flush is a real fix, not a hack.
While you’re at it, upgrade the hinges themselves if they’re bent, rusted, or undersized. Heavy-duty T-hinges or strap hinges, galvanized or stainless. A six-foot privacy gate weighs more than most homeowners think — 40 to 50 pounds easy, more if it’s soaked. The decorative hinges from a builder-grade hardware pack were never rated for that weight.
Step 4: Fix the frame if it’s racked
If the post is plumb and the hinges are solid but the gate itself is twisted out of shape, the frame has racked. Happens when a gate was built without a proper diagonal brace — or with the brace running the wrong direction.
Here’s the rule: the brace runs from the bottom hinge corner up to the top latch corner. That direction. If yours runs the opposite way, or there’s no brace at all, gravity has been pulling that gate apart every day of its life.
Two ways to fix it:
- Add a real wood diagonal brace, cut to fit, screwed into the frame at both ends
- Install an anti-sag kit — that’s the cable and turnbuckle assembly you’ll find at any hardware store for about twenty bucks
If you go with the cable kit, run it from the top hinge corner to the bottom latch corner. Then tighten the turnbuckle a quarter turn at a time until the gate sits square. Don’t crank it. You’ll pull the frame apart in the other direction and now you’ve got two problems.
Step 5: Deal with the sun damage
The gray, dried-out, splintery look — that’s UV damage. Not structural on its own, but it’s how water starts getting into the wood grain, and water in the grain is where rot begins.
Sand it down. 80-grit to knock off the fuzz, then 120 to smooth it out. Wipe it clean. Then hit it with a decent oil-based semi-transparent stain or a penetrating exterior wood sealer. Not paint. Paint peels and traps moisture underneath. Stain soaks in and lets the wood breathe.
Do this on a dry day, when nothing’s rained for two or three days. Wet wood doesn’t take stain properly. And if you skip the sanding and just slap sealer on gray, cupped boards, congratulations — you now own shiny gray, cupped boards.
Step 6: Latch and hardware
Once the gate hangs right, the old latch probably still won’t line up. That’s fine. Reposition the latch. Don’t try to force the gate to meet the old latch position.
Check the strike plate is solid in the post. Check that the latch actually catches when the wind blows the gate hard. A latch that “kinda” catches is worse than no latch at all. You’ll walk out one morning and find the gate wide open and the dog three blocks away.
If it’s a gate that gets used every day, spring for a good latch — something with a positive-catch mechanism, not a friction latch that gives up after two winters.
Do it now, not in October
The window for this kind of work in PA is short. October gets wet. November the ground starts freezing. December, forget it — concrete won’t cure right and you’ll be flat-out miserable out there.
Pick a Saturday in the next three weeks. Knock it out. A gate you fix now lasts another ten years. A gate you ignore lasts another ten months, and then you’re replacing the whole thing in the cold.
Straightforward job. Just don’t put it off.