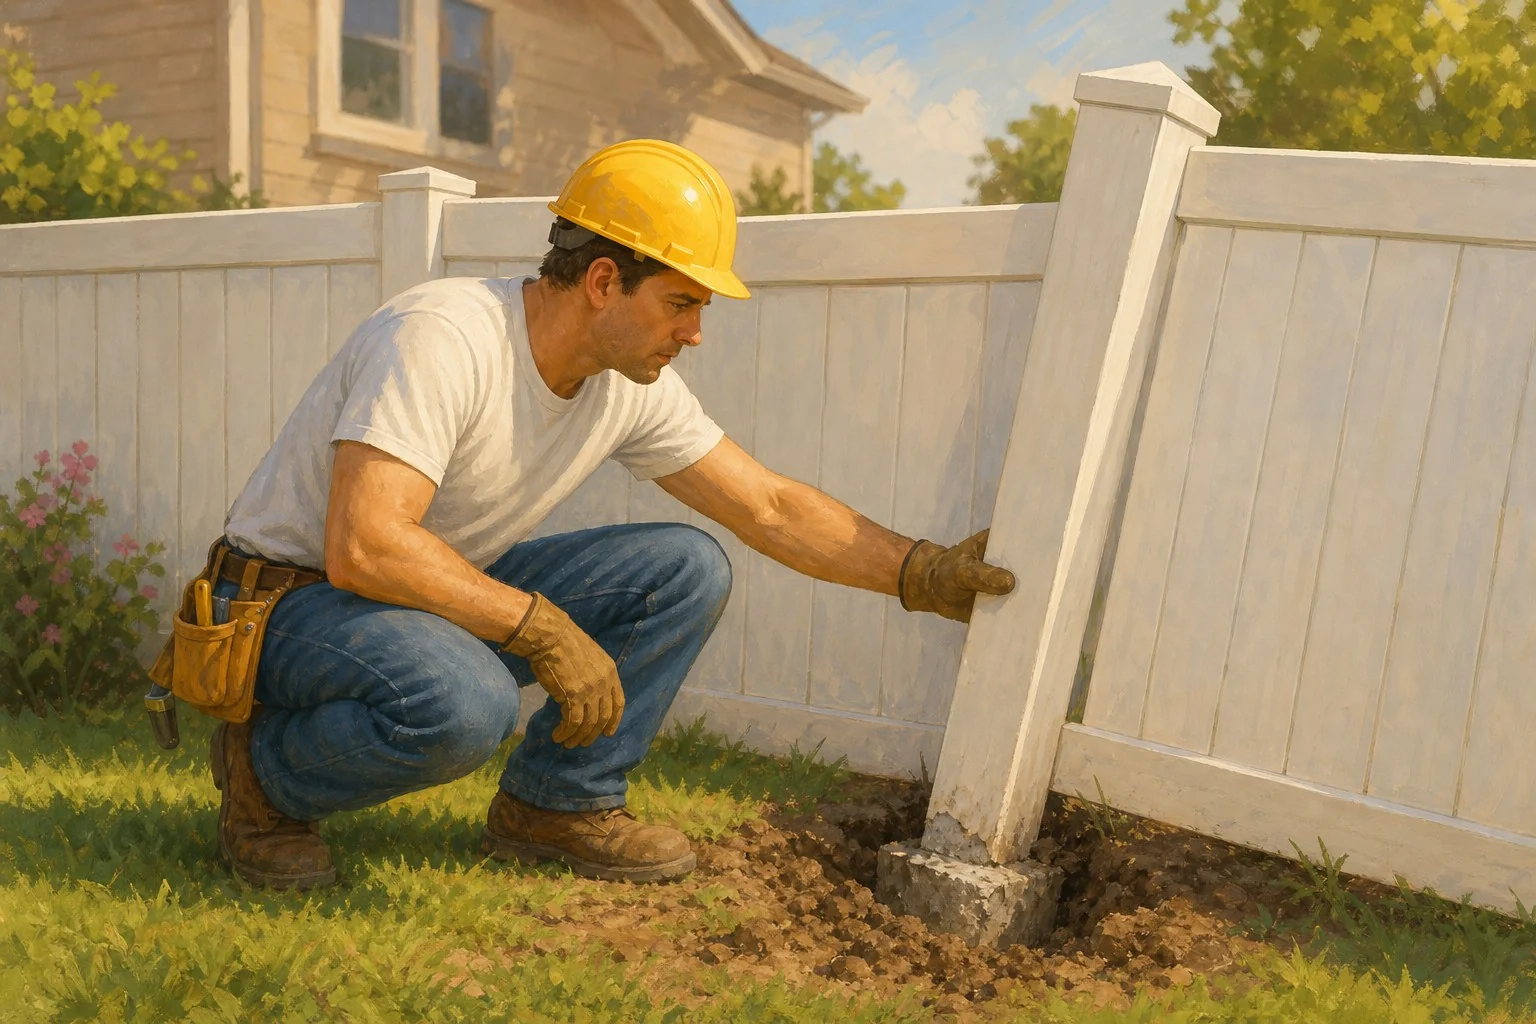
Your vinyl fence is leaning. Maybe it’s been leaning since last winter. Maybe it happened gradually and now the whole run looks like it’s trying to leave the property. You’re wondering if the panels warped, if the pickets came loose, if something shifted in the hardware.
Here’s what thirty years of fence work tells me: nine times out of ten, it’s the posts. Not the panels. Not the hardware. The posts.
And more specifically — how deep they were set, and whether anyone respected the concrete before loading them up.
The Post Is Doing All the Work
People underestimate what a fence post is actually doing. It’s not decoration. Every linear foot of fence panel hanging off that post is applying leverage — wind load, weight, expansion from heat, the dog slamming into it at full speed on Tuesday. That post has to hold against all of it, every day, for years.
When a post is set wrong, it doesn’t fail immediately. It holds. Then it gives a little. Then one bad storm or a wet spring works the soil around it, and suddenly the whole section is off. By the time you notice it, the damage is already done.
The fix is usually pulling the post, resetting it properly, and doing it again. There’s no patching your way around a bad foundation.
How Deep Is Deep Enough
Standard rule: your post hole should be at least one-third of the total post length, minimum 30 inches. In most residential installs, that means 36 inches down. No exceptions.
If you’re in sandy soil, loose fill, or anywhere near a flood zone — go deeper. Sandy soil doesn’t grip a post the way compacted clay does. It shifts. It drains. After a heavy rain it can behave almost like liquid around a post base. In those conditions, 42 inches isn’t overkill. It’s just correct.
A lot of the leaning fences I’ve seen in this city came from holes that were 18 to 24 inches deep. Someone used a hand auger, hit resistance, decided that was good enough. It wasn’t. An 18-inch hole is a suggestion, not a foundation.
The Concrete Needs to Be Fully Set Before You Do Anything Else
This one gets skipped constantly, and it’s where a lot of otherwise decent installs fall apart.
You pour your concrete, it looks solid after a day or two, and you want to move on. Understandable. But concrete doesn’t reach working strength in 48 hours. You need 72 hours minimum before you start hanging panels, and in cold weather — anything under 50 degrees — give it a full week.
Loading panels onto posts while the concrete is still curing means the weight and the racking force from panel installation can shift the post before the concrete has locked it in place. It sets crooked. Or it looks straight, and then settles crooked six months later.
I had a crew do a full 200-foot run in Roxborough — nice job, good material — and they started panel installation the next morning because the homeowner was pushing them. By the following spring, four posts were visibly off plumb. The concrete had set around posts that were already under load stress. We pulled three of them and redid the whole section.
That’s a callback nobody wanted. It cost time, it cost money, and it was completely avoidable.
What Proper Post Installation Actually Looks Like
Here’s what you’re looking for if you’re hiring someone, or doing this yourself:
The hole diameter matters. Your hole should be roughly three times the diameter of the post. A 4x4 post needs a hole about 12 inches across. A narrow hole doesn’t give the concrete enough mass to resist lateral movement.
Tamp the bottom before you pour. Loose soil at the bottom of the hole compresses over time. If you pour directly onto it, the post settles as the soil compresses. Tamp it down, or put two inches of gravel at the base to handle drainage.
Brace the posts plumb before the concrete sets — and keep them braced. Use a level. Check it twice. Screw in temporary bracing so the post can’t move while the concrete cures. Don’t assume it’ll stay straight on its own because it was straight when you set it.
Don’t fill the hole to grade with concrete. Slope the concrete slightly above grade so water sheds away from the post. Water pooling around the post base accelerates frost heave and rot around the base cap. Neither one is your friend.
When the Panels Aren’t the Problem
Vinyl panels can warp. They can crack in extreme cold. The bottom rails can sag if they’re unsupported over a long span. Real problems happen.
But before you blame the panels, check the posts. Put a level on them. If the post is off, nothing above it is going to be right, and replacing panels won’t fix anything. You’ll just have new panels on a bad post, and in another few years you’ll be back to the same lean.
If the post is plumb and the panel is still sagging or racking, then you look at the rail brackets, the panel spans, and whether the sections were cut and installed correctly. Most vinyl fence systems are pretty forgiving if the posts are right. Most of the failures I’ve seen trace directly to the posts not being right.
The Short Version
Set the posts 30 to 36 inches deep — deeper in sandy or unstable soil. Use the right diameter hole and enough concrete to actually hold. Keep the posts braced and plumb until the concrete fully cures, which means at minimum 72 hours, longer in cold weather. Don’t load the panels until it’s ready.
That’s it. That’s the whole thing. Every callback I’ve ever gotten on a vinyl fence install that I didn’t set myself traced back to one of those steps being skipped. Every single one.
Do it right once and the fence stands. Take the shortcut and plan on going back.